
I taught a mask making class for the first time ever at CET (Children’s Educational Theatre) this year. I have to admit, I was a little worried about how I would do. The first theater experiences used mask. Masks ave been such a huge part of theater history from the Greeks to Comedia dell’Arte to The Wonderheads that I was recently introduced to a couple of years ago. I wanted to do justice to these fine artist of the past and the present and I wanted the class to have some value for the kids in the class.
We talked how to give the mask personality and character. The talked about how Greeks used masks to provide a means of transformation. The Greek actor could put on a second face and transcend into a new persona. Comedia dell’Arte used masks to train actors in the ways of the stock characters, focusing on the ways of movement and expression. Larval Masks are over-sized and abstract masks based on Carnival masks representing a character in it’s early intellectual development.
Then it was time to create!

I started by practicing. I wasn’t sure how to exactly draw a pattern to begin my process. I found a few different patterns on the internet and gave them a shot.

After drawing them on paper, I moved to cardboard.
It seemed simple enough. I didn’t get a picture of every style I tried. I tried several so that I could a feel for how the mask would go together. I was also looking for how to help kids from 4th grade to 9th grade feel like they could succeed.
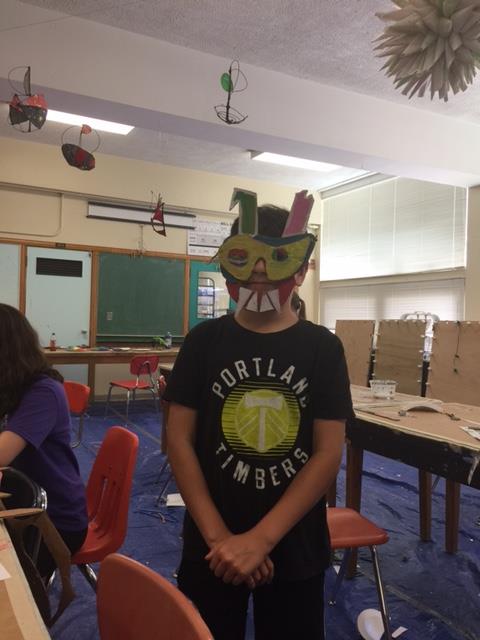
The first masks I had the kids make were layers of cardboard inspired by Picasso. The kids did a great job! We talked about seeing shapes, layering the shapes, and being creative. We studied some of Picasso’s art and then drew our own ideas out on paper before cutting the shapes out of cardboard.
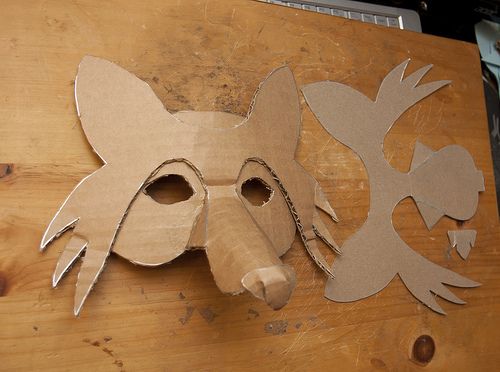
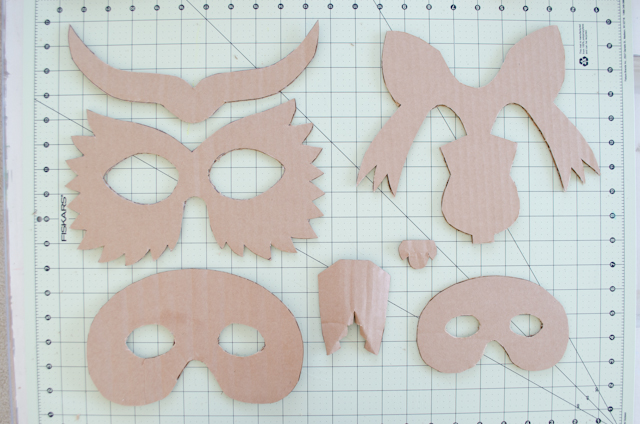
The next mask we made was an animal mask. I wanted this mask to have a rounded, more fitted look. Again, we drew the pattern on paper, moved to cardboard, and layered the cardboard with glue.
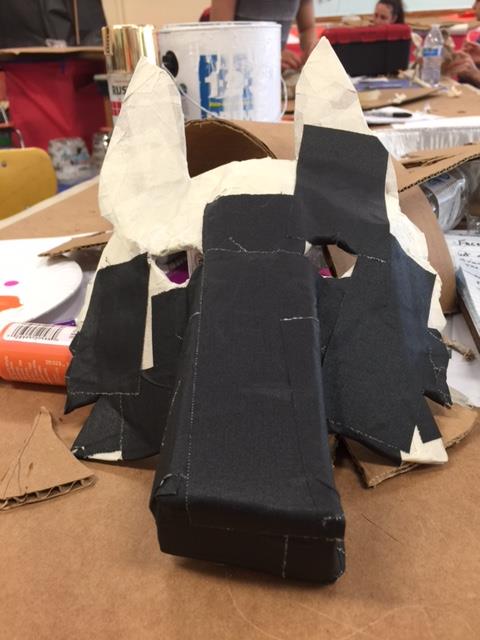
This is the jackal mask I created… from pattern to form – all freehand. We covered the cardboard edges with 2″ masking tape to seal them.
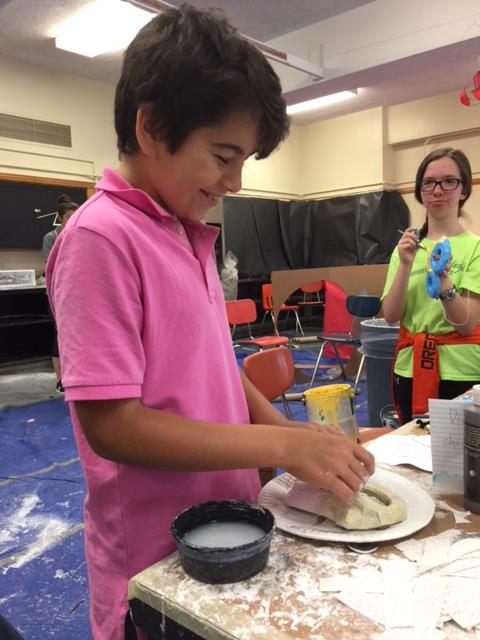
And then use paper mache’ over the form to make it smooth and to give it form. First we tore newspaper into little strips. Next, we mixed glue and water. We started with 1/2 water, 1/2 glue, but discovered that it wasn’t thick enough. We ended up using 2 parts glue 1 part water. Then, we dipped the paper in the mixture and layered the paper. Some of the kids didn’t like the feeling of the glue and chose to “paint” the paper with glue. I liked getting messy. 🙂
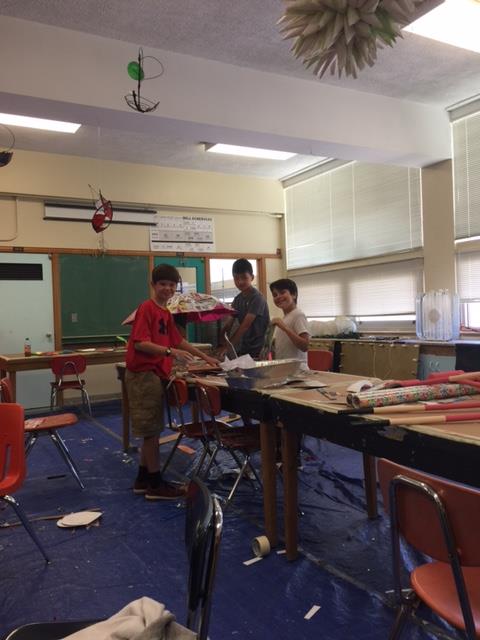
Paper mache is a messy job!

We also tried a plaster strip I found at the craft store. Personally, I like paper mache better because it was lighter and smoother in the end. The plaster was a little easier to apply but the end product was not as nice to paint.
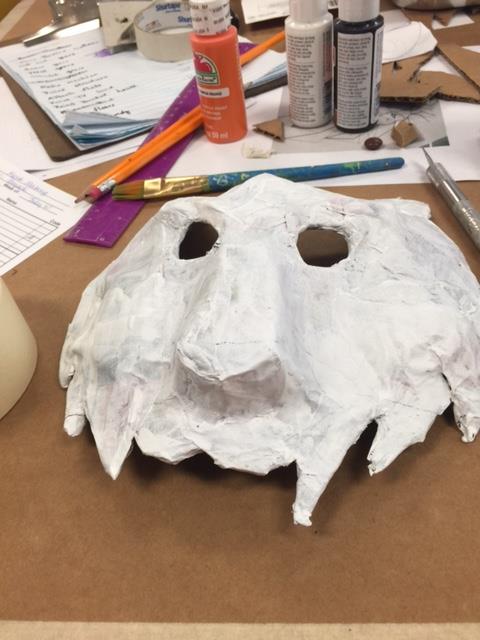
After our projects dried, we painted a layer of primer.
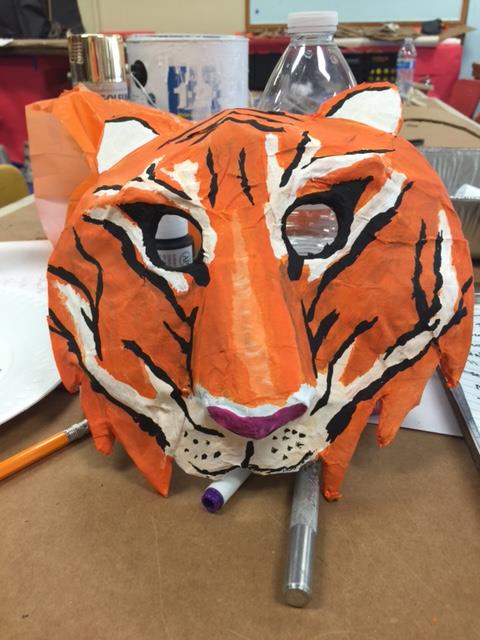
Then painted our masks. I painted this mask for a Level 1 show.
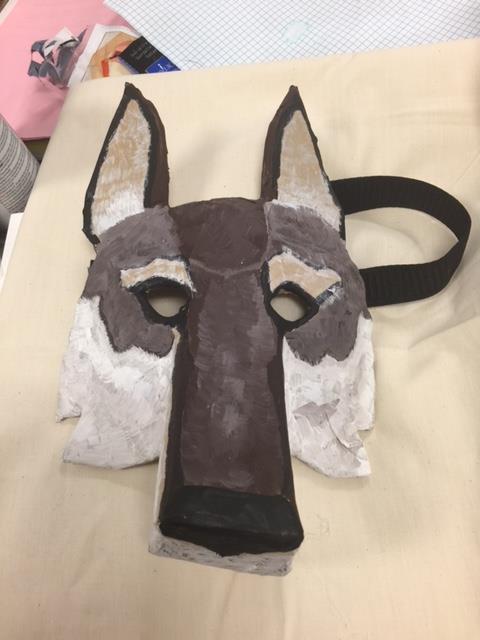
My Jackal turned out super well.
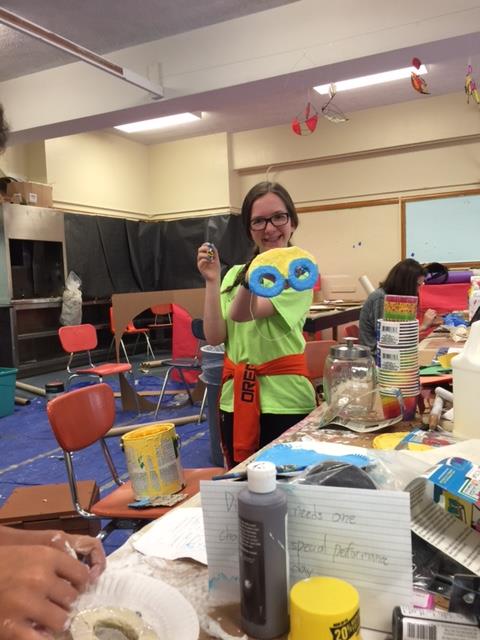
WE also made funny little “Minon” looking masks as goggles for the ompah lompas in our production of Willie Wonka.
Over all I feel like I succeeded. I am looking forward to teaching the class again.

I’m glad my designs could help, but I am a bit saddened to see that you took my name off my own designs and didn’t give me credit for my work.
LikeLike